Introduction
For most software, the development is not considered complete as late as the deployment of the solution, whether it is a website or a desktop solution. There are numerous ways of deploying your software for the end user. For example, when deploying a site, you can either publish the site using Visual Studio's Web Deploy options, or you can create a Web Setup Project (a great article on creating a web setup project is available on Scott Gu’s blog: http://weblogs.asp.net/scottgu/archive/2007/06/15/tip-trick-creating-packaged-asp-net-setup-programs-with-vs-2005.aspx), or you can even simply copy and paste the whole website to the server and do all the configuration manually.If you are using the VS Web Setup Project, there is quite a possibility that you would like to perform some additional tasks which may require you to add some custom logic for your software to start some kind of service or for setting the connection string for your application. For that purpose, you may require some additional input from the user which can be obtained by simply using the dialog boxes provided in the VS Web Setup Projects. These are a set of predefined dialog templates which are setup according to our own requirements. There are a few limitations though, which are listed below:
- You cannot add a combination of controls other than those which are already provided, i.e., you may want to use a check box, two text boxes, and a radio button. In this case, you cannot use the predefined dialogs.
- You have no access whatsoever over the controls in the dialog box; for example, you would want to have a Form where the user checks the “Windows Authentication” option and you would want to hide the username and password fields provided for SQL Server authentication. This cannot be achieved using the predefined dialog boxes.
- You will have to do tedious work in order to get a variable from your dialog to a custom action where you actually want to use the values provided in the form. For example, you will have to add something like below for your custom action data from your user interface, and will use the context in the custom action to get the value, which can become confusing at times.
/targetdir="[TARGETDIR]\" /targetvdir="[TARGETVDIR]" /targetsite="[TARGETSITE]"
Now I will give a step by step walk through of creating custom dialog boxes and adding them to your web setup projects.
Creating a Web Site
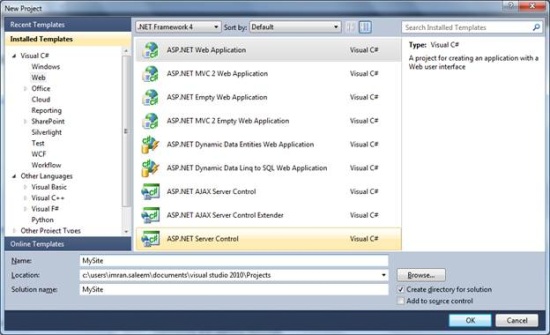
- Open your Visual Studio and click File -> New -> Project, and from the installed templates section, select Web, and select the template you want to use for your website. In this case, I am using ASP.NET Web Application.
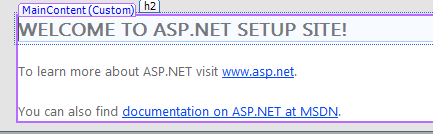
- In the default page, I change the standard “WELCOME TO ASP.NET!” text to “WELCOME TO ASP.NET” to make sure this is our page.
Creating a Windows Form for our Custom Dialog
- Right click the solution in Solution Explorer, and click the “New Project” sub menu item in the Add menu.
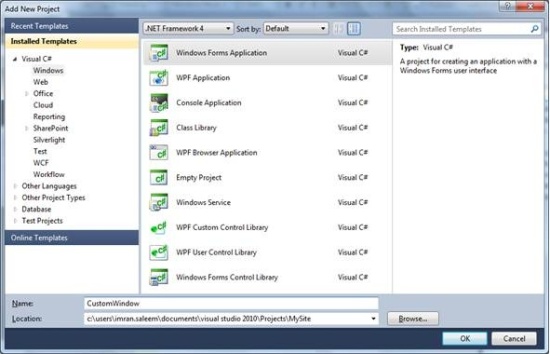
- In “Windows” Installed Templates, choose Windows Forms Application. Enter “Custom Window” in the Name field for the project.
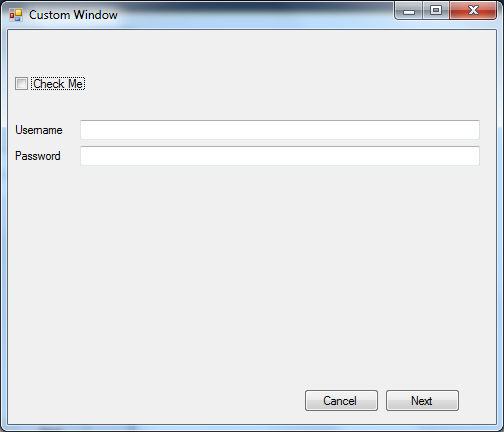
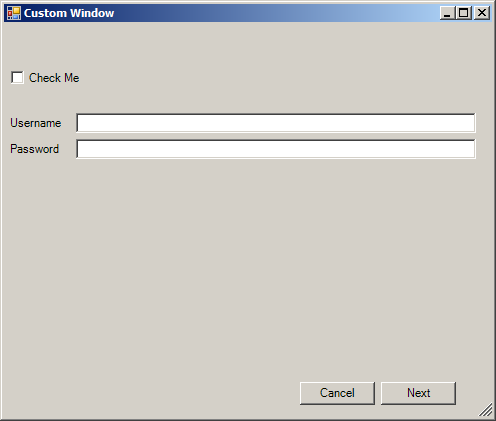
- A blank Windows Form will be shown in the Designer. Design the window as per your requirements. I have added a few controls like below, but in the actual setup, you would make the screen as close as possible to the setup steps.

Creating a Custom Action Class Library
- Right click the solution in Solution Explorer, click the “New Project” sub menu item in the Add menu.
- Select Class Library from the Visual C# installed templates. This
will be our custom action from which we will call our dialog box
showDialog()function. - Delete the class name Class1.cs.
- Add
System.ComponentModel,System.Windows.Forms, andSystem.Configuration.Installin namespaces. - Add the
[RunInstaller(true)]attribute on the class. - Add a new class named CustomAction.cs and inherit it from
System.Configuration.Install.Installer. You will have to add a reference to theSystem.Configuration.Installcomponent to your project. - You will now override the
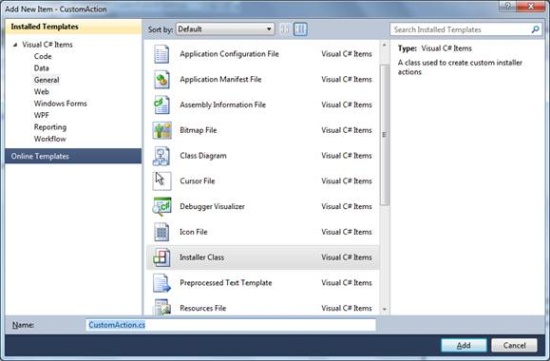
Installfunction of theInstallerclass. - You can skip the steps from 9 – 11 by adding the Installer class in the General category in Installed Templates.
- Add a reference to the CustomWindow project in the CustomAction project.
- Add the following lines of code in the override:


Creating a Web Setup Project
- Now we will add the Web Setup Project. For that, right click the solution in Solution Explorer, and click the “New Project” sub menu item in the Add menu.
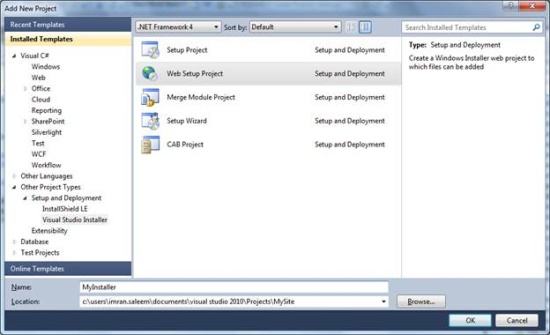
- Expand the “Other Project Types” node in the Installed Templates pane. Under the “Setup and Deployment” node, click “Visual Studio Installer” and select “Web Setup Project” from the templates pane. Enter “MyInstaller” in the Name field and click OK.
- Once the project is created, right click the “MyInstaller” project in Solution Explorer, and in the “Add” menu, click “Project Output”.
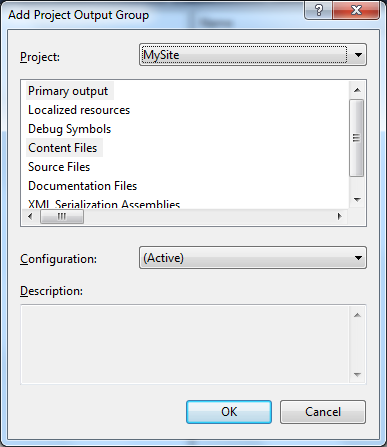
- The “Add Project Output Group” window will be shown. Select “MySite” from the Project dropdown list and select “Primary output” and “Content Files”, and press OK.
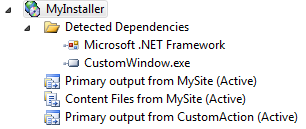
- Similarly, add the primary output of the CustomAction project in the MyInstaller project.
- The output from the MySite project and CustomAction will be added to the installer. See figure below.
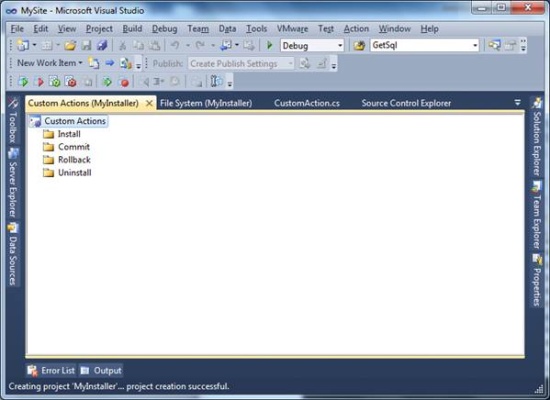
- To add the custom action to show our dialog box, right click the “MyInstaller” project and in the “View” menu, click “Custom Actions”.
- The Customer Action tab will be opened:
- Right click the “Install” folder under CustomActions and click “Add Custom Action…”
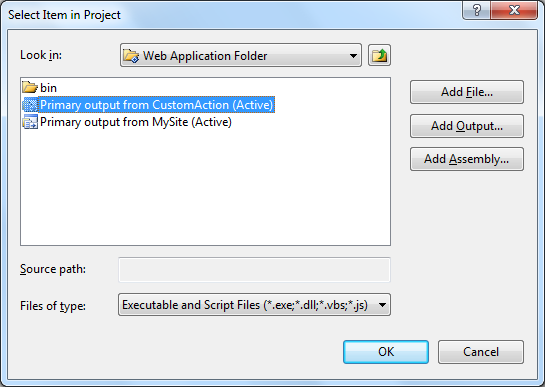
- A dialog will open and in the Web Application Folder, select “Primary output from CustomAction” and click OK.
- And that should be it, phew. Build the solution and our setup will be created in the Debug or Release folder of our project depending on our configuration.


Running the Setup
Now we are going to run the setup we just created. Just double click Setup.exe and our setup will start.
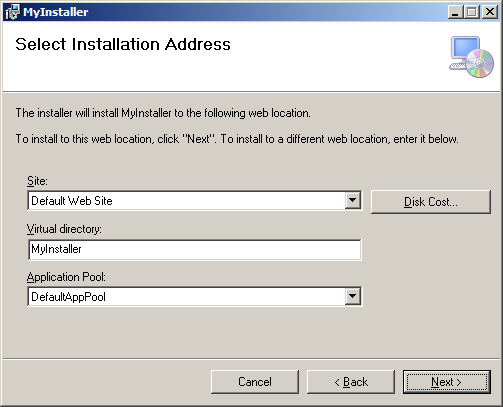
Click Next for the web configuration options:
Click Next to confirm installation and click Next to start setup.
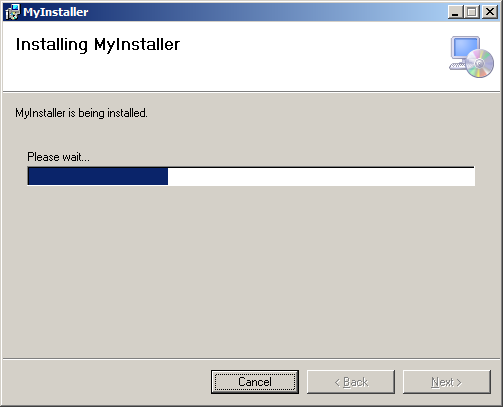
You will see the custom action dialog which was added.
And when you click Next after performing your operation, when the dialog is closed, the control will be given back to the installer and it will complete the installation.

Click Close to complete the installation.
Passing the Context to a Custom Dialog
In some cases, you would want to pass the context to your custom dialog and use the context variable. You can create a class member ofInstall and create a constructor for the form class which accepts an InstallContext object and assigns it to our formContext object.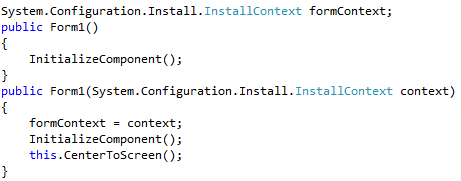
And when creating the instance of our dialog in a custom action, pass it as a single argument for the constructor.
Conclusion
By using this technique, you can get custom functionality while running your setup with full control over the execution of your custom logic.http://www.codeproject.com/KB/install/DialogWebSetup.aspx
No comments:
Post a Comment