The Apache Hadoop software library is a framework that allows for the distributed processing of large data sets across clusters of computers using simple programming models. Read More
This article will help you for step by step install and configure single node hadoop cluster.
Step 1. Install Java
Before installing hadoop make sure you have java installed on your system. If you do not have javainstalled use following article to install Java.
Step 2. Create User Account
Create a system user account to use for hadoop installation.
# useradd hadoop
# passwd hadoop
Changing password for user hadoop.
New password:
Retype new password:
passwd: all authentication tokens updated successfully.
Step 3. Configuring Key Based Login
Its required to setup hadoop user to ssh itself without password. Using following method it will enable key based login for hadoop user.
# su - hadoop
$ ssh-keygen -t rsa
$ cat ~/.ssh/id_rsa.pub >> ~/.ssh/authorized_keys
$ chmod 0600 ~/.ssh/authorized_keys
$ exit
Step 4. Download and Extract Hadoop Source
Downlaod hadoop latest availabe version from its official site, and follow below steps.
# mkdir /opt/hadoop
# cd /opt/hadoop/
# wget http://apache.mesi.com.ar/hadoop/common/hadoop-1.2.1/hadoop-1.2.1.tar.gz
# tar -xzf hadoop-1.2.1.tar.gz
# mv hadoop-1.2.1 hadoop
# chown -R hadoop /opt/hadoop
# cd /opt/hadoop/hadoop/
Step 5: Configure Hadoop
First edit hadoop configuration files and make following changes.
5.1 Edit core-site.xml
5.1 Edit core-site.xml
# vim conf/core-site.xml
#Add the following inside the configuration tag
<property>
    <name>fs.default.name</name>
    <value>hdfs://localhost:9000/</value>
</property>
<property>
    <name>dfs.permissions</name>
    <value>false</value>
</property>
5.2 Edit hdfs-site.xml
# vim conf/hdfs-site.xml
# Add the following inside the configuration tag
<property>
 <name>dfs.data.dir</name>
 <value>/opt/hadoop/hadoop/dfs/name/data</value>
 <final>true</final>
</property>
<property>
 <name>dfs.name.dir</name>
 <value>/opt/hadoop/hadoop/dfs/name</value>
 <final>true</final>
</property>
<property>
 <name>dfs.replication</name>
 <value>2</value>
</property>
5.3 Edit mapred-site.xml
# vim conf/mapred-site.xml
# Add the following inside the configuration tag
<property>
        <name>mapred.job.tracker</name>
 <value>localhost:9001</value>
</property>
5.4 Edit hadoop-env.sh
# vim conf/hadoop-env.sh
export JAVA_HOME=/opt/jdk1.7.0_17
export HADOOP_OPTS=-Djava.net.preferIPv4Stack=true
Set JAVA_HOME path as per your system configuration for java.
Next to format Name Node
# su - hadoop
$ cd /opt/hadoop/hadoop
$ bin/hadoop namenode -format
13/06/02 22:53:48 INFO namenode.NameNode: STARTUP_MSG:
/************************************************************
STARTUP_MSG: Starting NameNode
STARTUP_MSG:   host = srv1.tecadmin.net/192.168.1.90
STARTUP_MSG:   args = [-format]
STARTUP_MSG:   version = 1.2.1
STARTUP_MSG:   build = https://svn.apache.org/repos/asf/hadoop/common/branches/branch-1.2 -r 1479473; compiled by 'hortonfo' on Mon May  6 06:59:37 UTC 2013
STARTUP_MSG:   java = 1.7.0_17
************************************************************/
13/06/02 22:53:48 INFO util.GSet: Computing capacity for map BlocksMap
13/06/02 22:53:48 INFO util.GSet: VM type       = 32-bit
13/06/02 22:53:48 INFO util.GSet: 2.0% max memory = 1013645312
13/06/02 22:53:48 INFO util.GSet: capacity      = 2^22 = 4194304 entries
13/06/02 22:53:48 INFO util.GSet: recommended=4194304, actual=4194304
13/06/02 22:53:49 INFO namenode.FSNamesystem: fsOwner=hadoop
13/06/02 22:53:49 INFO namenode.FSNamesystem: supergroup=supergroup
13/06/02 22:53:49 INFO namenode.FSNamesystem: isPermissionEnabled=true
13/06/02 22:53:49 INFO namenode.FSNamesystem: dfs.block.invalidate.limit=100
13/06/02 22:53:49 INFO namenode.FSNamesystem: isAccessTokenEnabled=false accessKeyUpdateInterval=0 min(s), accessTokenLifetime=0 min(s)
13/06/02 22:53:49 INFO namenode.FSEditLog: dfs.namenode.edits.toleration.length = 0
13/06/02 22:53:49 INFO namenode.NameNode: Caching file names occuring more than 10 times
13/06/02 22:53:49 INFO common.Storage: Image file of size 112 saved in 0 seconds.
13/06/02 22:53:49 INFO namenode.FSEditLog: closing edit log: position=4, editlog=/opt/hadoop/hadoop/dfs/name/current/edits
13/06/02 22:53:49 INFO namenode.FSEditLog: close success: truncate to 4, editlog=/opt/hadoop/hadoop/dfs/name/current/edits
13/06/02 22:53:49 INFO common.Storage: Storage directory /opt/hadoop/hadoop/dfs/name has been successfully formatted.
13/06/02 22:53:49 INFO namenode.NameNode: SHUTDOWN_MSG:
/************************************************************
SHUTDOWN_MSG: Shutting down NameNode at srv1.tecadmin.net/192.168.1.90
************************************************************/
Step 6: Start Hadoop Services
Use the following command to start all hadoop services.
$ bin/start-all.sh
[sample output]
starting namenode, logging to /opt/hadoop/hadoop/libexec/../logs/hadoop-hadoop-namenode-ns1.tecadmin.net.out
localhost: starting datanode, logging to /opt/hadoop/hadoop/libexec/../logs/hadoop-hadoop-datanode-ns1.tecadmin.net.out
localhost: starting secondarynamenode, logging to /opt/hadoop/hadoop/libexec/../logs/hadoop-hadoop-secondarynamenode-ns1  .tecadmin.net.out
starting jobtracker, logging to /opt/hadoop/hadoop/libexec/../logs/hadoop-hadoop-jobtracker-ns1.tecadmin.net.out
localhost: starting tasktracker, logging to /opt/hadoop/hadoop/libexec/../logs/hadoop-hadoop-tasktracker-ns1.tecadmin.ne  t.out
Step 7: Test and Access Hadoop Services
Use ‘jps ‘ command to check if all services are started well.
$ jps
or
$ $JAVA_HOME/bin/jps
26049 SecondaryNameNode
25929 DataNode
26399 Jps
26129 JobTracker
26249 TaskTracker
25807 NameNode
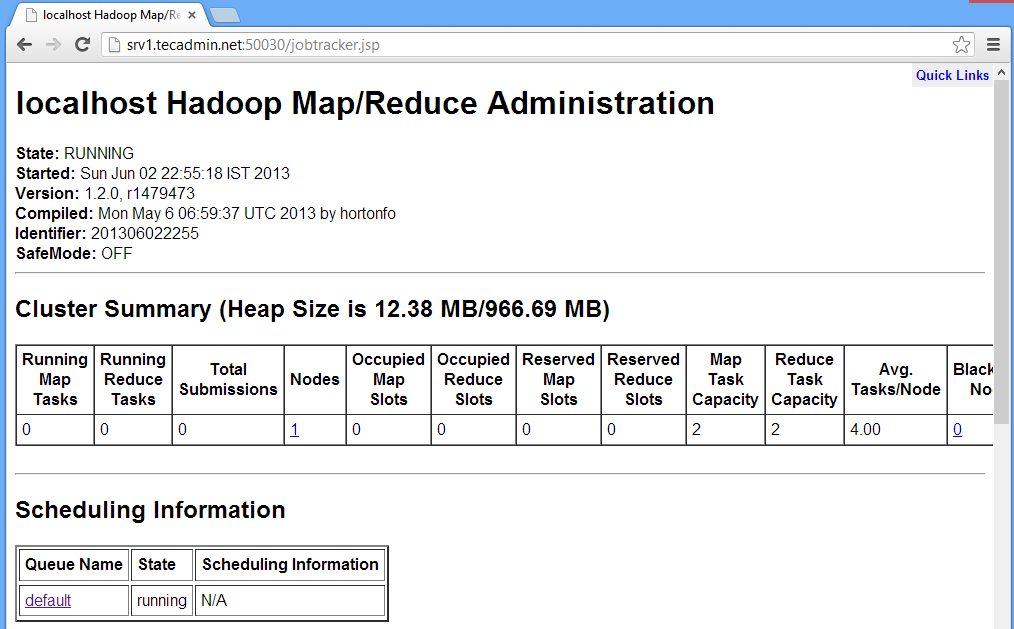
Web Access URLs for Services
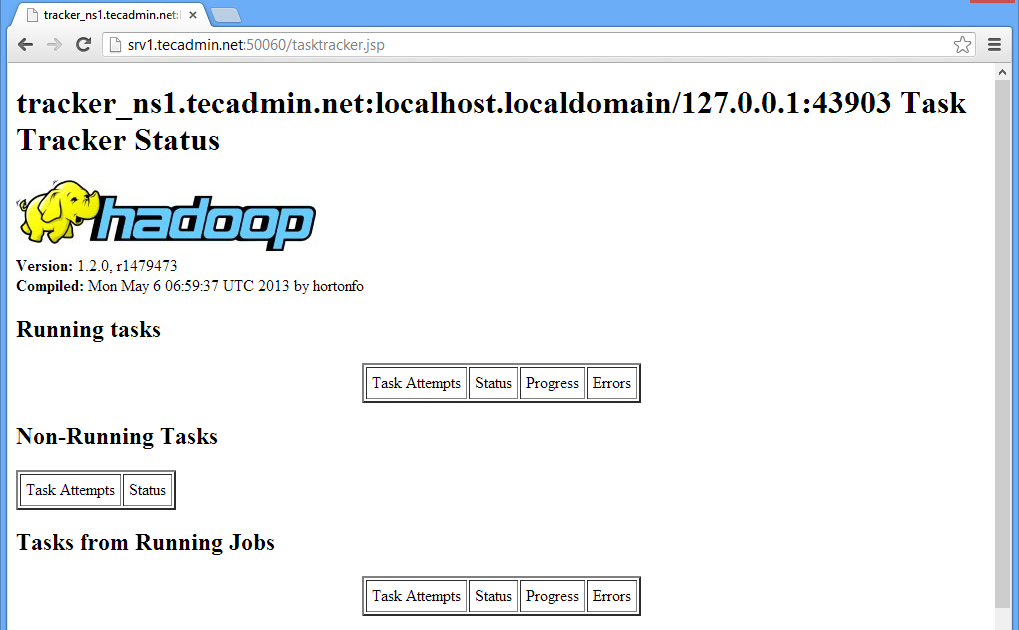
  http://srv1.tecadmin.net:50030/   for the Jobtracker
  http://srv1.tecadmin.net:50070/   for the Namenode
  http://srv1.tecadmin.net:50060/   for the Tasktracker
Hadoop JobTracker:
Hadoop Namenode:

Hadoop TaskTracker:
Step 8: Stop Hadoop Services
If you do no need anymore hadoop. Stop all hadoop services using following command.
# bin/stop-all.sh
I really appreciate information shared above. It’s of great help. If someone want to learn Online (Virtual) instructor lead live training in Big Data and Hadoop Administrator, kindly contact us http://www.maxmunus.com/contact
ReplyDeleteMaxMunus Offer World Class Virtual Instructor led training on TECHNOLOGY. We have industry expert trainer. We provide Training Material and Software Support. MaxMunus has successfully conducted 100000+ trainings in India, USA, UK, Australlia, Switzerland, Qatar, Saudi Arabia, Bangladesh, Bahrain and UAE etc.
For Demo Contact us.
Sangita Mohanty
MaxMunus
E-mail: sangita@maxmunus.com
Skype id: training_maxmunus
Ph:(0) 9738075708 / 080 - 41103383
http://www.maxmunus.com/